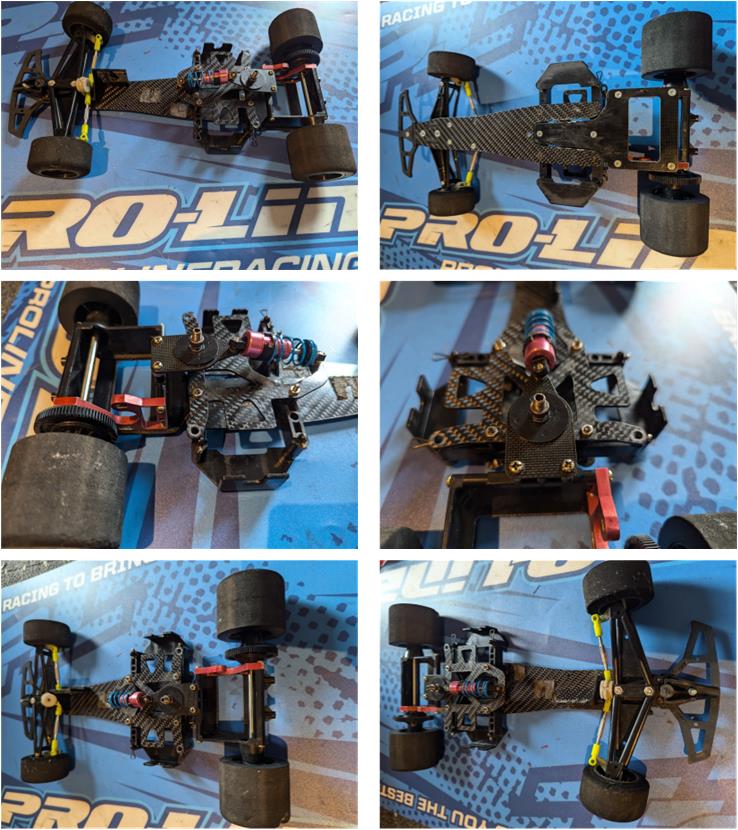
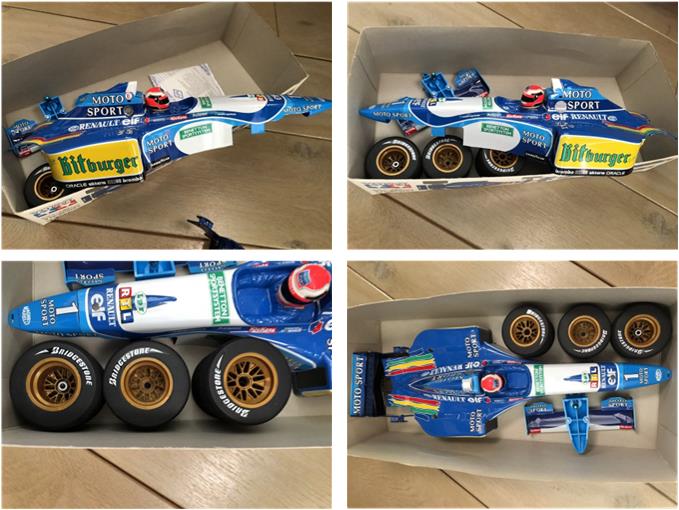
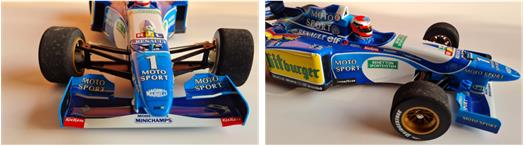
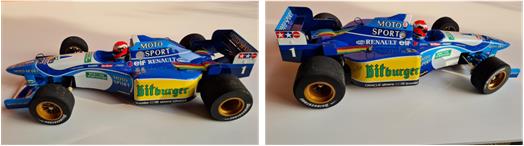
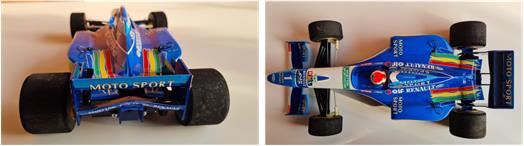
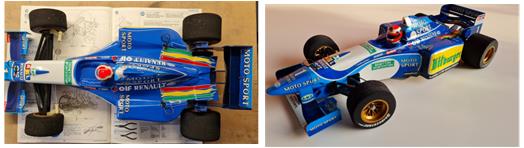
Tamiya F103 RS, article number 58156 offered for sale in 1995 and available on the market until 1999 Body not included with the chassis, but to be bought separately Chassis F103 RS Body Benetton Renault B195, accessory to be bought separately article number 50659 put on sale in 1995 and available on the market until 1996
Analysis of the model to be restored
Analysis of the chassis reveals that
– the bottom plate is made of carbon and not FRP (an acronym for ‘Fiber Reinforced Polymers’). This is an accessory to be bought separately, part number 53146 described as ‘F-1 carbon graphite chassis plate (F103)’. – The top plate is the extended plate that incorporates the shock mount bracket. This is an accessory to be bought separately, part number 53394 described as ‘F103LM carbon upper deck’. It is an accessory that increases performance by lightening the model and also makes it easier to adjust the rear mono-shock absorber, – a high-performance, low-friction shock absorber. This is an accessory to be bought separately, part number 53155 described as ‘Low friction aluminium damper’,
– pink anodised aluminium motor mount plate. This is an accessory to be bought separately part number 53106 described as ‘F103 race developed aluminium motor mount’; the one installed seems not to be the original version, – the four sponge wheels appear to be in good condition. There are some non-original parts such as the adjustable steering arms with the four yellow joints and the front bumper that seems to be an evolution of the factory standard one, but lightened. An analysis of the body reveals that – the body has been correctly coloured, – the stickers have been applied correctly; whoever built the body seems to have put a lot of care into it and certainly has very good craftsmanship, – the four wheels have the correct colour rims and the foam tyres are new. The stickers of the tyre manufacturer ‘Bridgestone’ are present,
– the raised nose typical of this model has no impact damage,- front wing is undamaged, – front wing is undamaged, – rear wing is undamaged and retains the two side flaps.
Frame Restoration
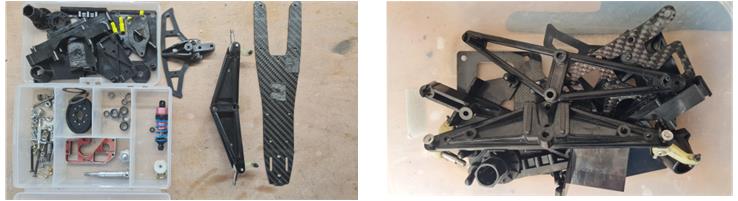
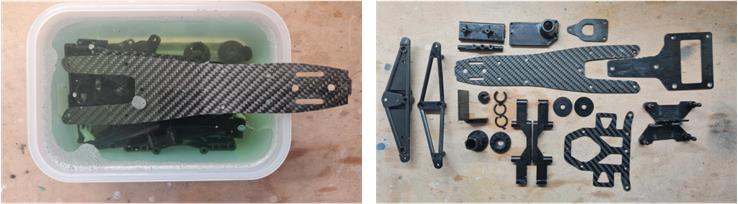
The chassis consists of only a few parts, so it is quick to disassemble it in its entirety and move on to the cleaning operation. Sequence of operations for the restoration of the larger plastic parts and the carbon-fibre parts:
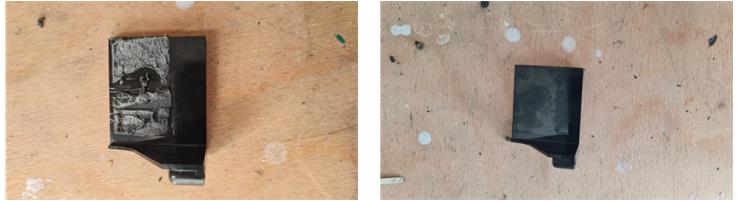
– some parts are covered with what is left of the double-sided tape and its glue, before proceeding to the cleaning operation with soap and water it is necessary to remove the tape and glue,
– wash surfaces with kitchen soap using a medium or hard bristle brush to reach the most hidden places,
– polish the surfaces with toothpaste or polish; for carbon parts only, treat the parts with black shoe polish.
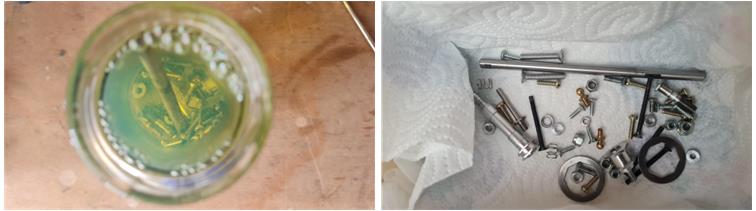
The metal parts were immersed for six to seven days in diesel oil (image below); the diesel oil has the property of degreasing the parts, removing rust and oxidation. After treatment, metal parts remain shiny and covered with a thin film of oil that preserves them from oxidation for a long time. If the metal parts are not too oxidised or dirty, treatment with diesel is more effective than ultrasonic washing.
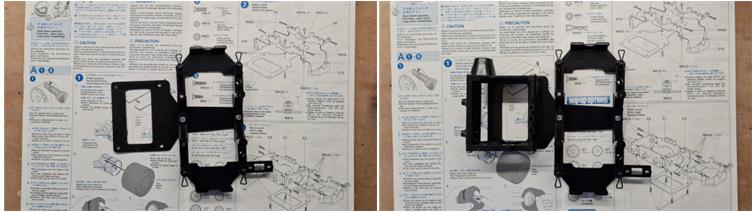
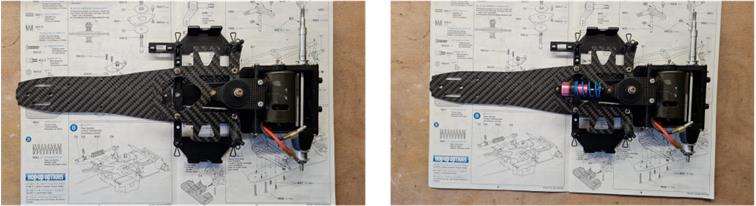
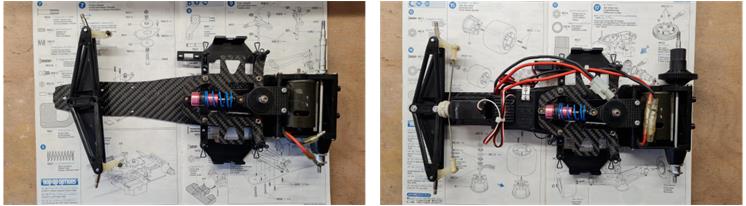
At this point, all parts are ready to be assembled; the parts that make up this chassis are few in number, so the assembly operations are reduced to a very small number of steps. Follow the sequence of images that summarise the assembly phases of the model. The assembly phase starts with the rear frame installed on the T-shaped fibre plate complete with the section to house the battery. For this model, the battery holder frame is firmly fixed to the T-plate, the same solution seen on the basic F103 chassis that is evolved on the F103LM TRF chassis.
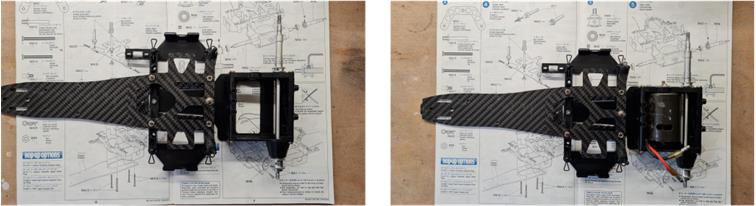
The rear system housing the electric motor and rear axle was restored to factory condition by adding the black plastic plate for electric motor installation. Assemble the rear with the carbon fibre top and bottom plate complete with the system for the single shock absorber. Install rear axle, aluminium joints and electric motor ‘Sport Tuned Motor’ part number 53068.
Complete installation of the black plastic friction plates of the rear single shock system. Add high-performance aluminium shock absorber.
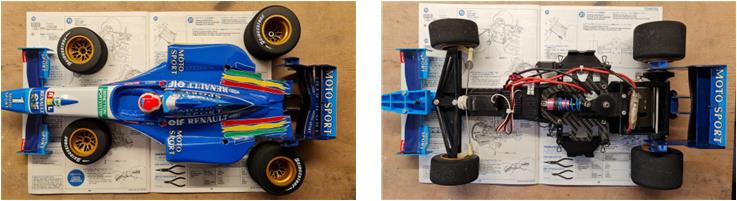
Now it is time to move on to the front suspension complete with shock absorbers and steering system. The servo is installed vertically in the centre of the chassis. This system provides better control of the toe-in of the front wheels, better steering angle adjustment and better weight distribution. The front bumper is absent because it is replaced by the front wing. The chassis is completed with the electronics, which consists of an integrated receiver with electronic speed control code CPR P100F complete with its servo control, the fins of which have been cut off to install it vertically on the plastic L-shaped plate.
Body construction
The four wheels are made of sponge with gold-coloured rims and are part of the body. To complete the chassis, it is necessary to install the front spoiler and rear spoiler, which bolt directly onto the chassis. The body is perfectly coloured and the stickers have been carefully placed, so you only need to install the body on the chassis and insert the 3 clips.
Restored model
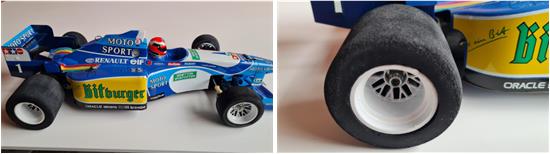
Images showing the finished model.
Update
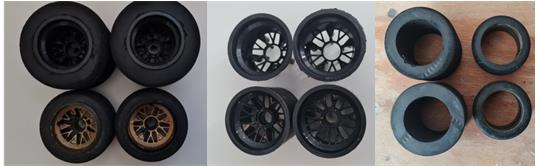
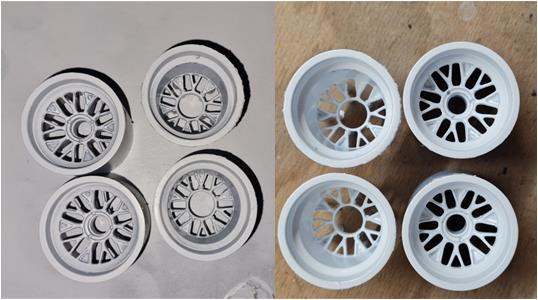
The rims in the photo are from the Ferrari F310B model Tamiya number 58213, so they are incorrect. The correct rims are white and not gold. A set of black rims complete with tyres are available. The front rims have been coloured gold. First you soak the set in 90% pure alcohol or more for two days. Alcohol acts on the glue that holds the sponge tyres firmly to the rim and allows them to be removed without damage. In addition, alcohol acts on the paint, which can be removed mechanically using a paper towel.
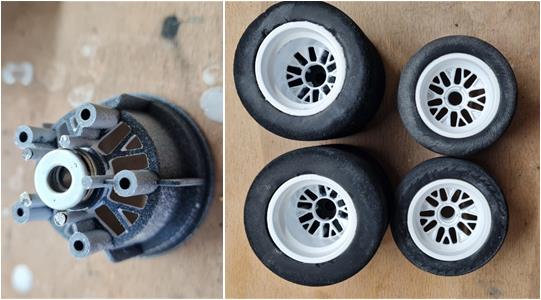
Sponge tyres are affected by time, so soak them in a solution of water and kitchen soap (one drop of soap in one litre of water), the solution has the function of dissolving the dirt accumulated in the sponge and giving softness to the material, which is now very stiff. Remove the rear rims by separating them into two shells, apply a coat of fine white primer (code 87044) and two coats of gloss white (code TS26) on the spokes of the four rims.
The two shells forming the rear wheel rim can also be fitted by assembling the bearing in the right wheel rim that completes the rear differential.
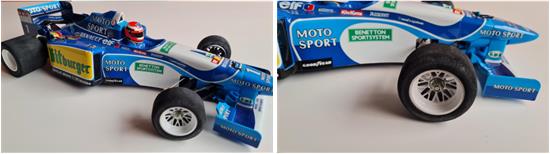
It is now possible to install the correct rims on the Benetton B195
Tamiya, original figure, box art, guide book and catalogue are of TAMIYA INC, which does not endose or sponsor www.tamiyaclassic.com. Any brands, logos and trademarks represented on this website are the copyright of their respective owners.