Tamiya Lotus 107B Ford, item number 58126 offered for sale in 1993 and available on the market until 1997 Lexan bodywork F103 chassis
Analysis of the model to be restored
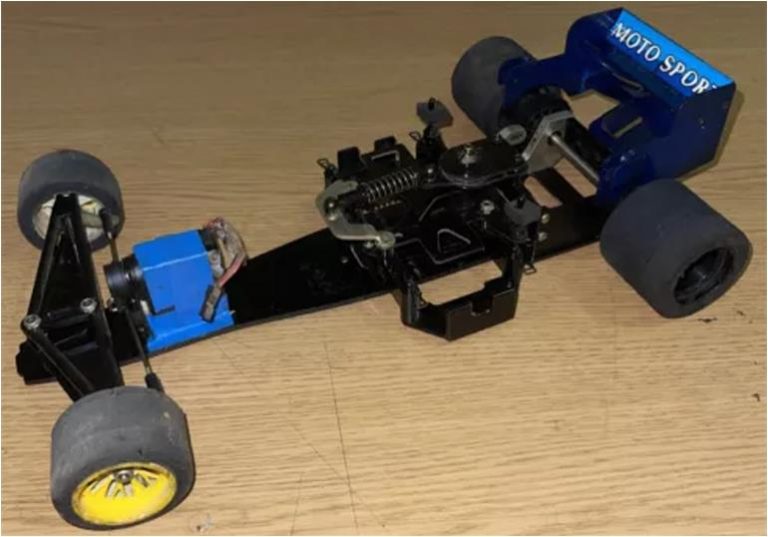
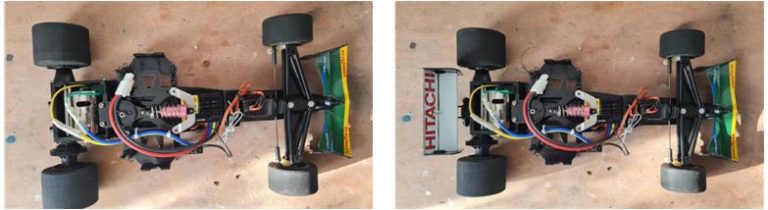
Analysis of the chassis insertion notes that.
– the four rims and tires have seen better times – steering servo is taped in place and the cable appears to have been cut by reducing its length – front wing is missing – rear wing is that of the Benetton Renault B195, bodywork that is an accessory to be bought separately; item number 50659 – the engine plate is aluminum
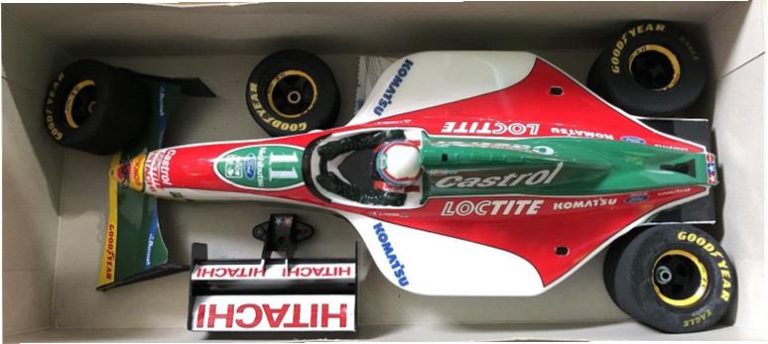
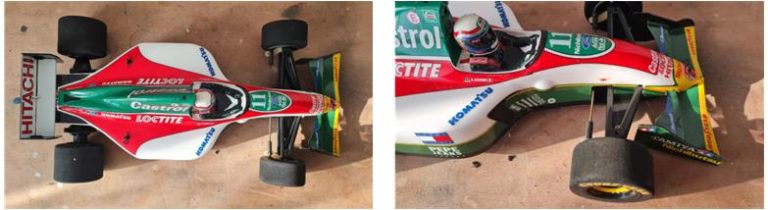
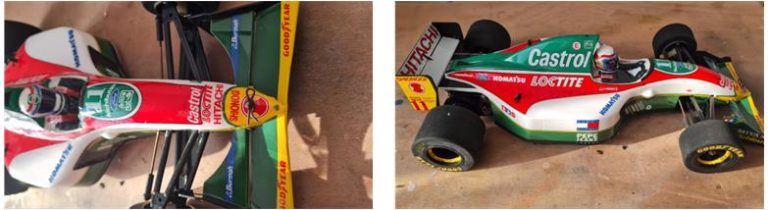
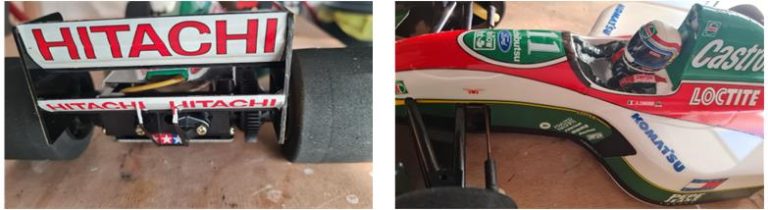
It is evident from the only photo in the advertisement that the model has experienced better times. Although the condition of the chassis is not the best, it is certainly possible to restore or replace the weathered parts. The chassis is a first series F103 to which it is possible to combine the Lotus Ford 107B body to obtain the 58126 model complete in every part. Analysis of the body insertion notes that: – the bodywork has been colored correctly – the stickers have been applied correctly; the person who built the body seems to have put a lot of care into it and certainly has very good craftsmanship – the four wheels have the right color rims and the sponge tires are new. The stickers of the tire manufacturer “Good Year” and the rim manufacturer “OZ” are present.
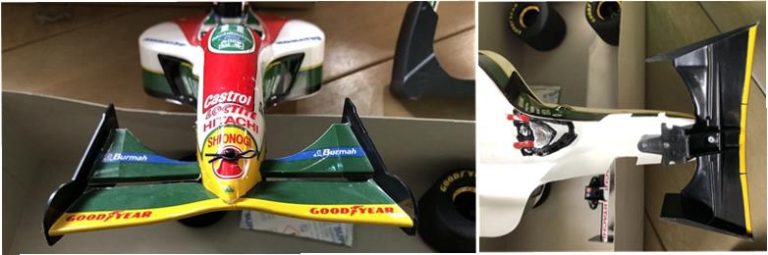
– the nose has no impact damage (in the image below left) – front wing has no damage (in the image below right) and the stickers were applied correctly
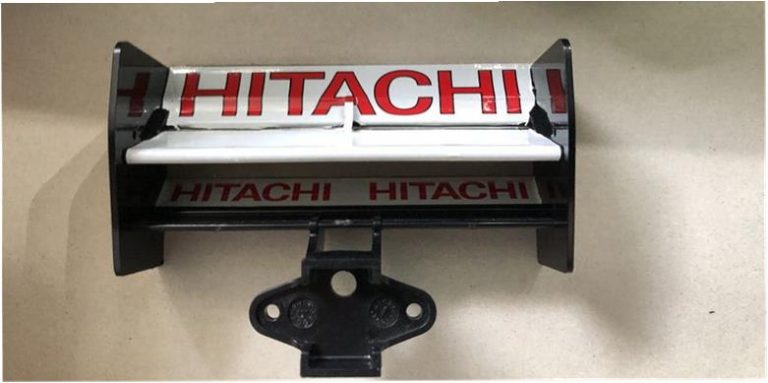
– Rear wing has no damage and stickers have been applied correctly
Frame Restoration
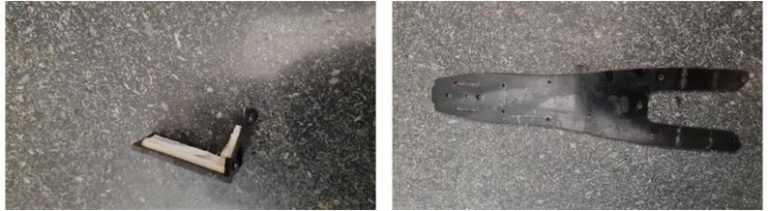
The frame when it arrived looked exactly as in the picture in the advertisement: in need of restoration. Being composed of only a few parts, it is quick to disassemble it in its entirety and move on to the cleaning operation. Sequence of operations for restoration of the larger plastic and fiberglass parts:
– some parts are covered with what is left of the double-sided tape and its glue, before proceeding to the cleaning operation with soap and water it is necessary to mechanically remove the tape and glue.
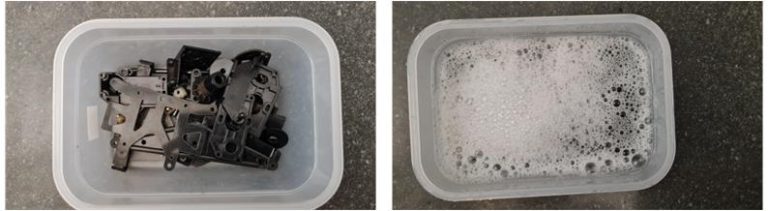
In this case, the glue could not be completely removed because it has now crystallized on the surfaces; to complete the job, leave all the plastic parts soaked for six to seven days in a solution of water and kitchen soap. The surfactants in the soap have the function of degreasing and dissolving the glue
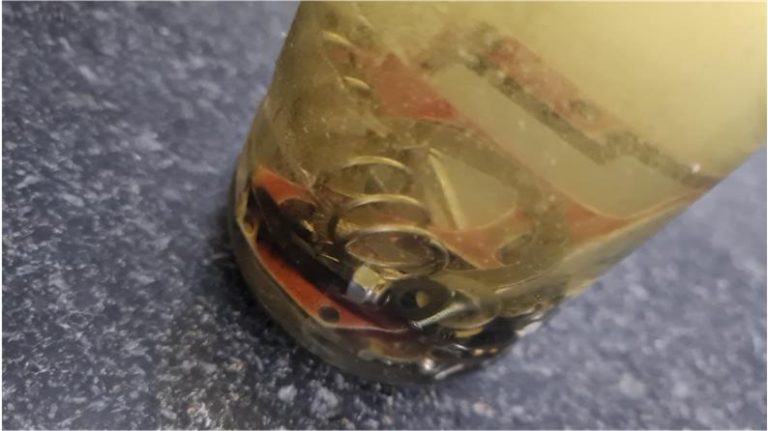
– Polish the surfaces with toothpaste or polish; for carbon parts only, treat the parts with black shoe polish The metal parts were soaked for six … seven days in diesel oil (image below); diesel oil has the property of degreasing the parts, removing rust and oxidation. Metal parts after treatment remain shiny and covered with a thin film of oil that preserves them from oxidation for a long time. If the metal parts are not too oxidized or dirty, diesel treatment is more effective than the ultrasonic machine
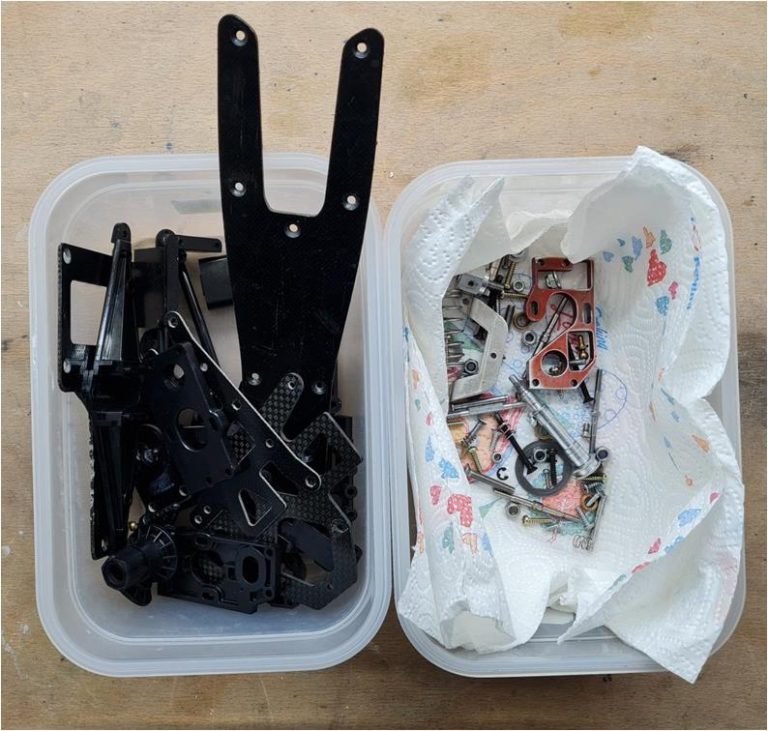
The parts that make up this chassis are few so assembly operations are reduced to a really small number of steps. In the image below left the fiber and plastic parts are highlighted, in the image below right the metal parts ready to be assembled are highlighted.
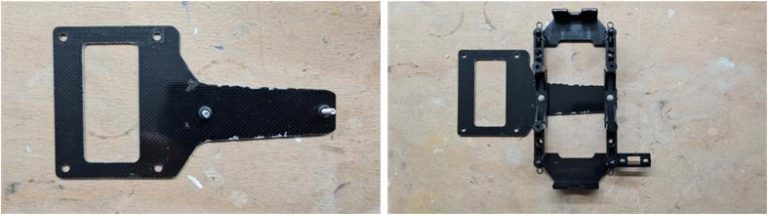
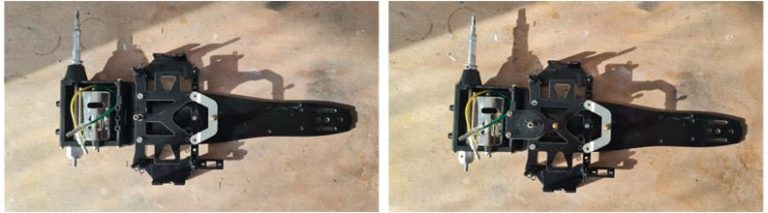
The assembly stage starts with the rear frame installed on the T-shaped fiber plate complete with the section to house the battery. For this model, the battery holder frame is rigidly attached to the T-plate (left image) and only the two soft rubber o-rings allow some clearance between the T-section and the main frame. The T-plate has some scratches and marks from track use, overall it is in good condition and does not need to be replaced.
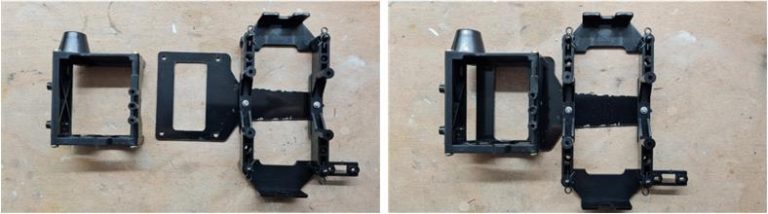
The rear system housing the electric motor and rear axle was restored to factory condition by removing the metal plate and replacing it with the black plastic plate for electric motor installation (left image).
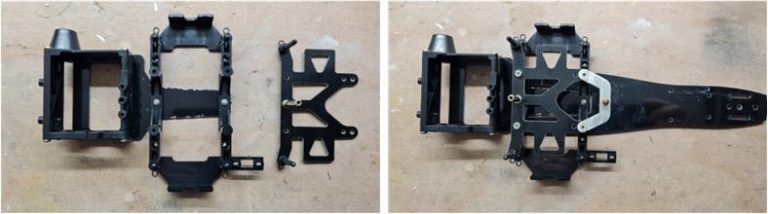
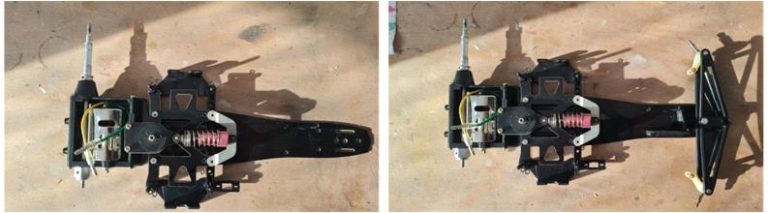
Assemble the rear with the top plate (see image below left) and bottom plate (see image below right) made of fiber complete with the aluminum system for the single shock absorber.
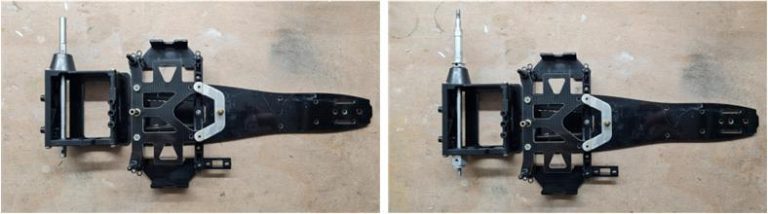
Install rear axle (see image below left) and aluminum differential couplings (see image below right).
Install the electric motor with its metal plate. Complete installation of the three black plastic friction plates that complete the rear single shock system.
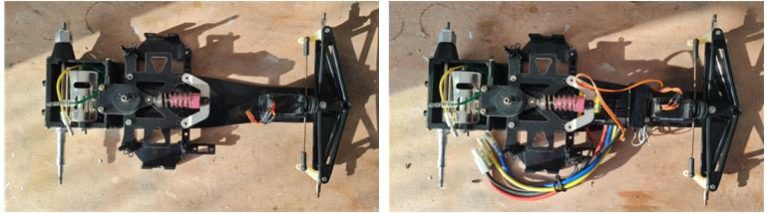
Add high-performance aluminum shock absorber (accessory number 53155) and install the front steering and suspension system complete with L-shaped plate for steering servo installation. This system allows the steering servo to be installed centrally, completely changing the solution adopted in previous F1 chassis; the new installation provides better control of front wheel toe-in, better steering angle adjustment and better weight distribution. Aluminum low friction shock absorber (part number 53155) is an almost mandatory accessory to replace factory-installed plastic shock absorber. The front bumper is absent because it is replaced by the front wing.
Install the servo to which cables were modified because the receiver is located immediately behind the steering system. The cables were cut and then spliced in such a motion that they are less than 10 centimeters long, a length that is sufficient to connect the servo to the receiver.
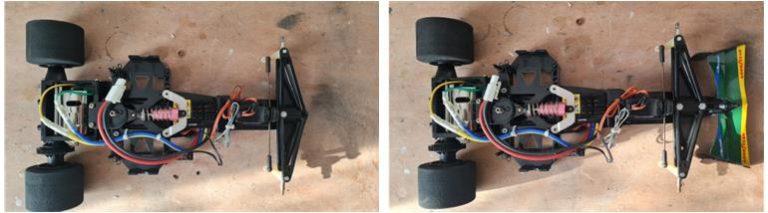
To complete the chassis, it is necessary to install the front spoiler and rear spoiler, which screw directly onto the chassis. Install the rear ball differential and the two rear wheels (image below left), before installing the front wheels install front wing which also serves as a bumper (image below right).
Install the front wheels with bushings (image below left). The F103 chassis does not have factory ball bearings, only bushings or plastic bushings. Before trying to install the body, the rear spoiler must be bolted to the engine frame (image below right) to complete the chassis.
Restored model
The four wheels are sponge with the black-colored rim and are part of the body purchase. The body is perfectly colored and the stickers have been carefully placed, then, it is only necessary to install the body on the chassis and insert the 3 clips. Images showing the finished model.
Tamiya, original figure, box art, guide book and catalogue are of TAMIYA INC, which does not endose or sponsor www.tamiyaclassic.com. Any brands, logos and trademarks represented on this website are the copyright of their respective owners.